User's Guide
In this guide, we will walk though the activies that you can do with BloodConnect, as well as some of its core functionalities.
note
This user's guide is accurate as at June 29, 2020, BloodConnect Milestone 2. Additional features may be added in the future which may alter the user flow. We will continue to update this page.
Creating an account
You technically need not have a BloodConnect account in order to use BloodConnect. Without an account, every user can browse requests and donate. You will need an account with a verified email address, however, to create a new request. By creating an account, you also get the following benefits:
- Ability to create requests
- Notifications of new requests nearby
- History of donations
- Ability to save your details for faster donation availability submission
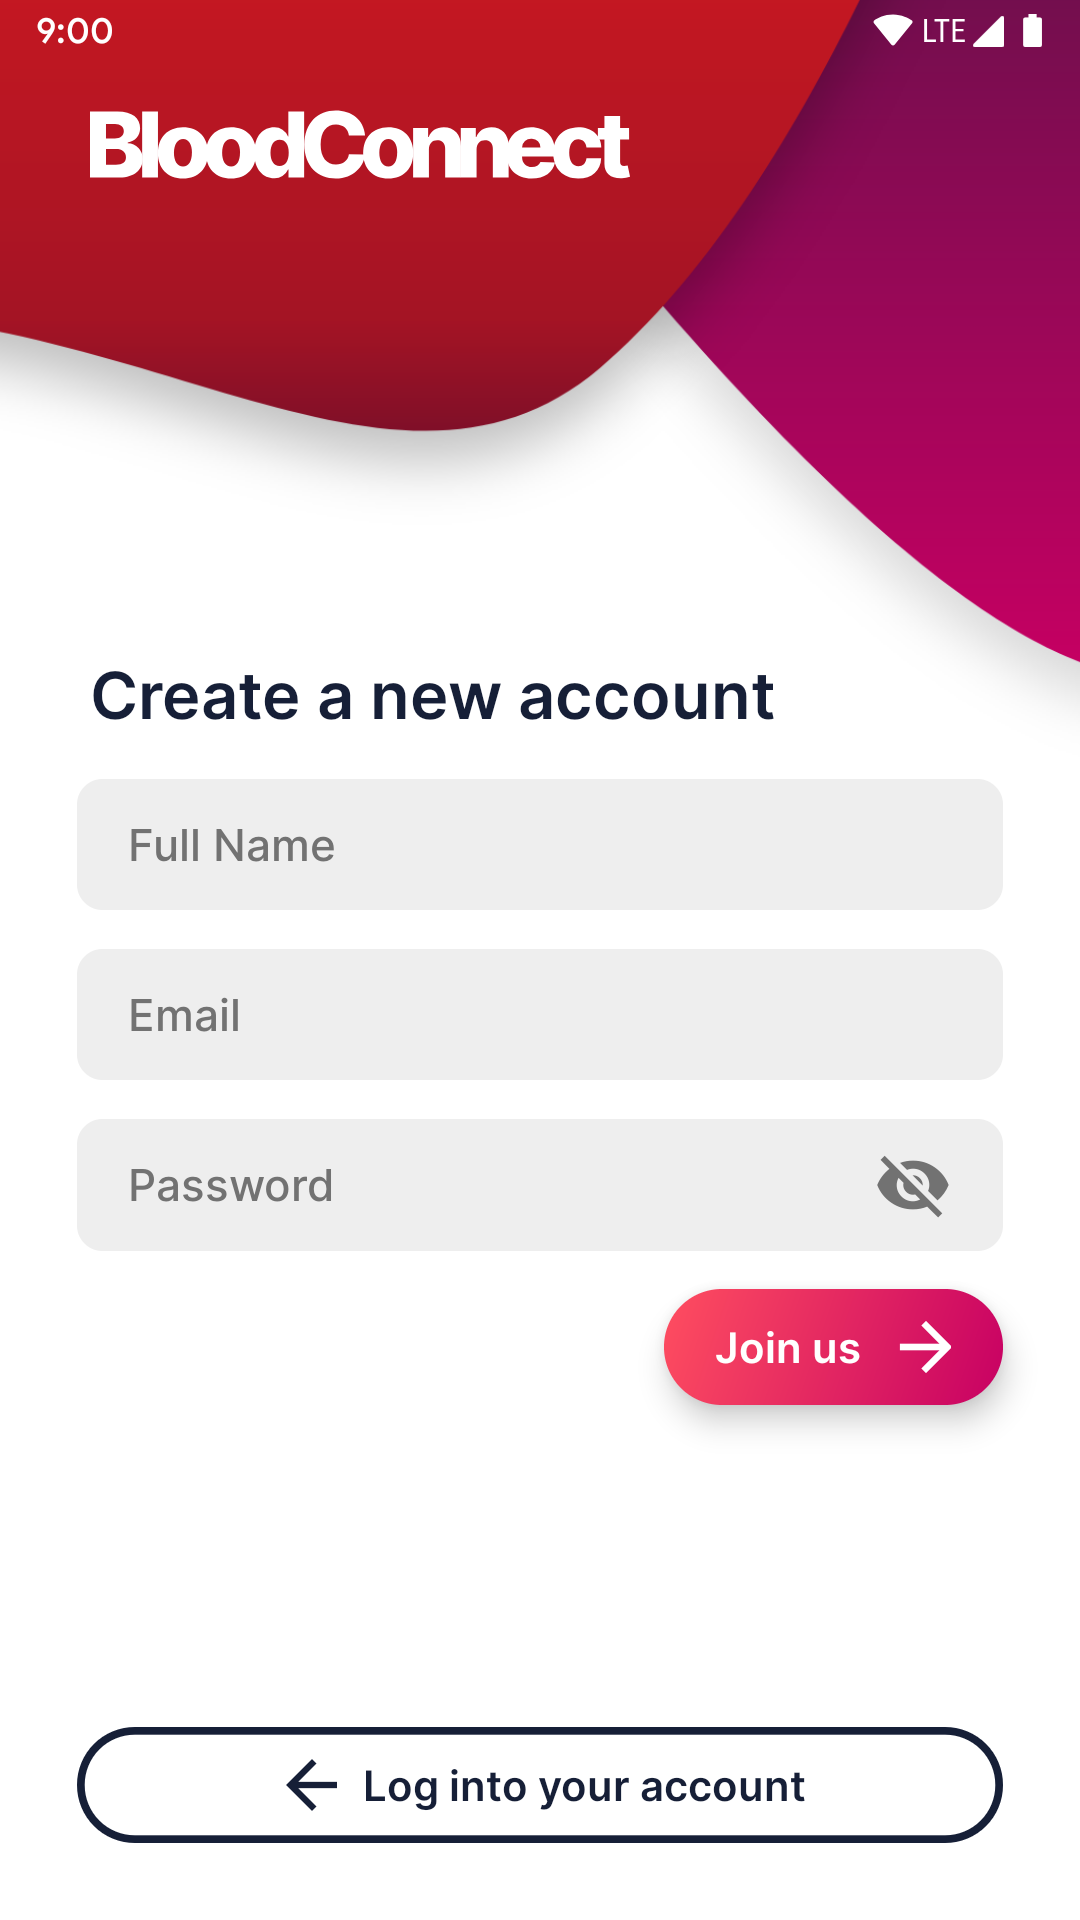
Provide your full name, email address, and password to create a new account. You can tap on the eye icon to view your password and confirm it before submitting. Your password must be at least 6-character long. Tap on "Join us" to create your account.
note
Please ensure that your email address is valid. We will send you an email to verify your account. You will need to have a verified account in order to make a request.
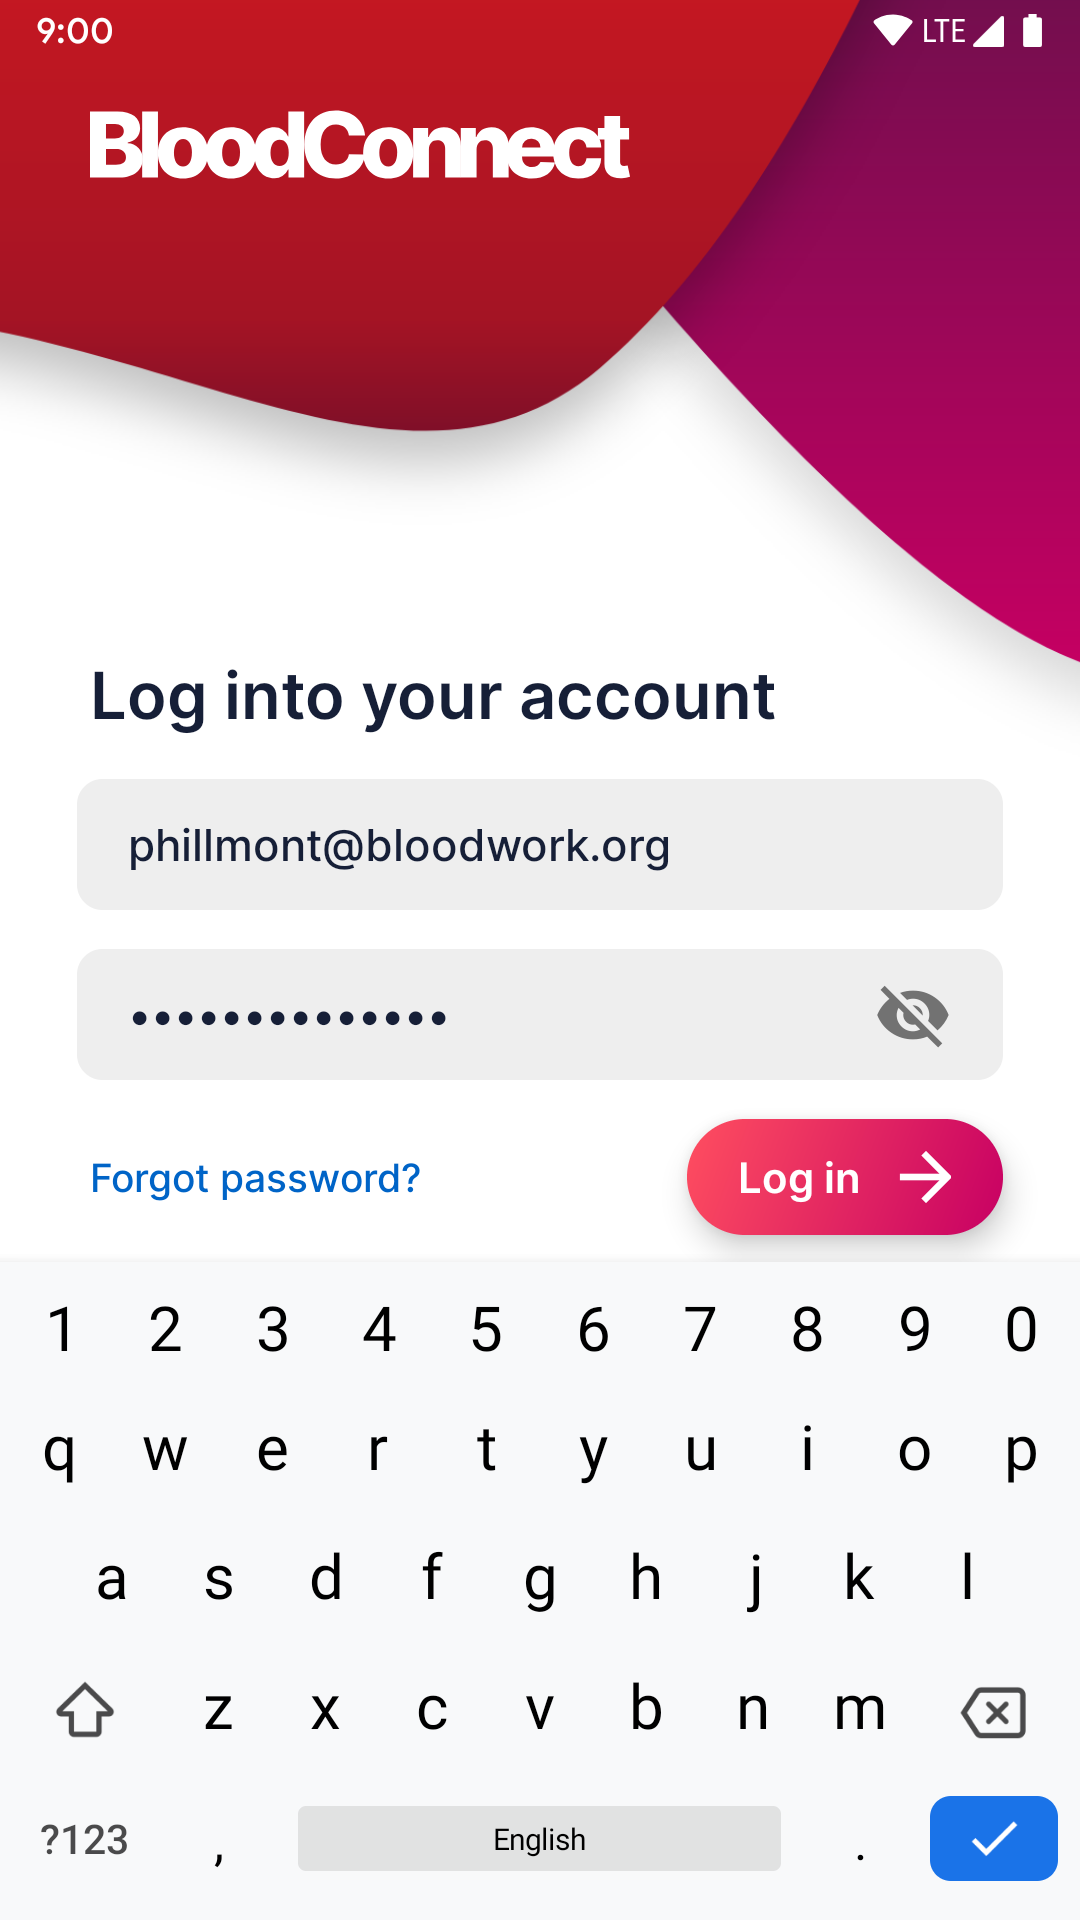
Logging into your account
If you already have an account, you can simply log into your account with your email and password. If you forgot your password, tap on the blue "Forgot password?" link to reset your password. Finally, tap "Log in" to continue.
BloodConnect supports Sign in with Google, which allows you to create a and log into your BloodConnect account with your existing Google Account. Tap on "Sign in with Google" to authenticate with your Google Account.
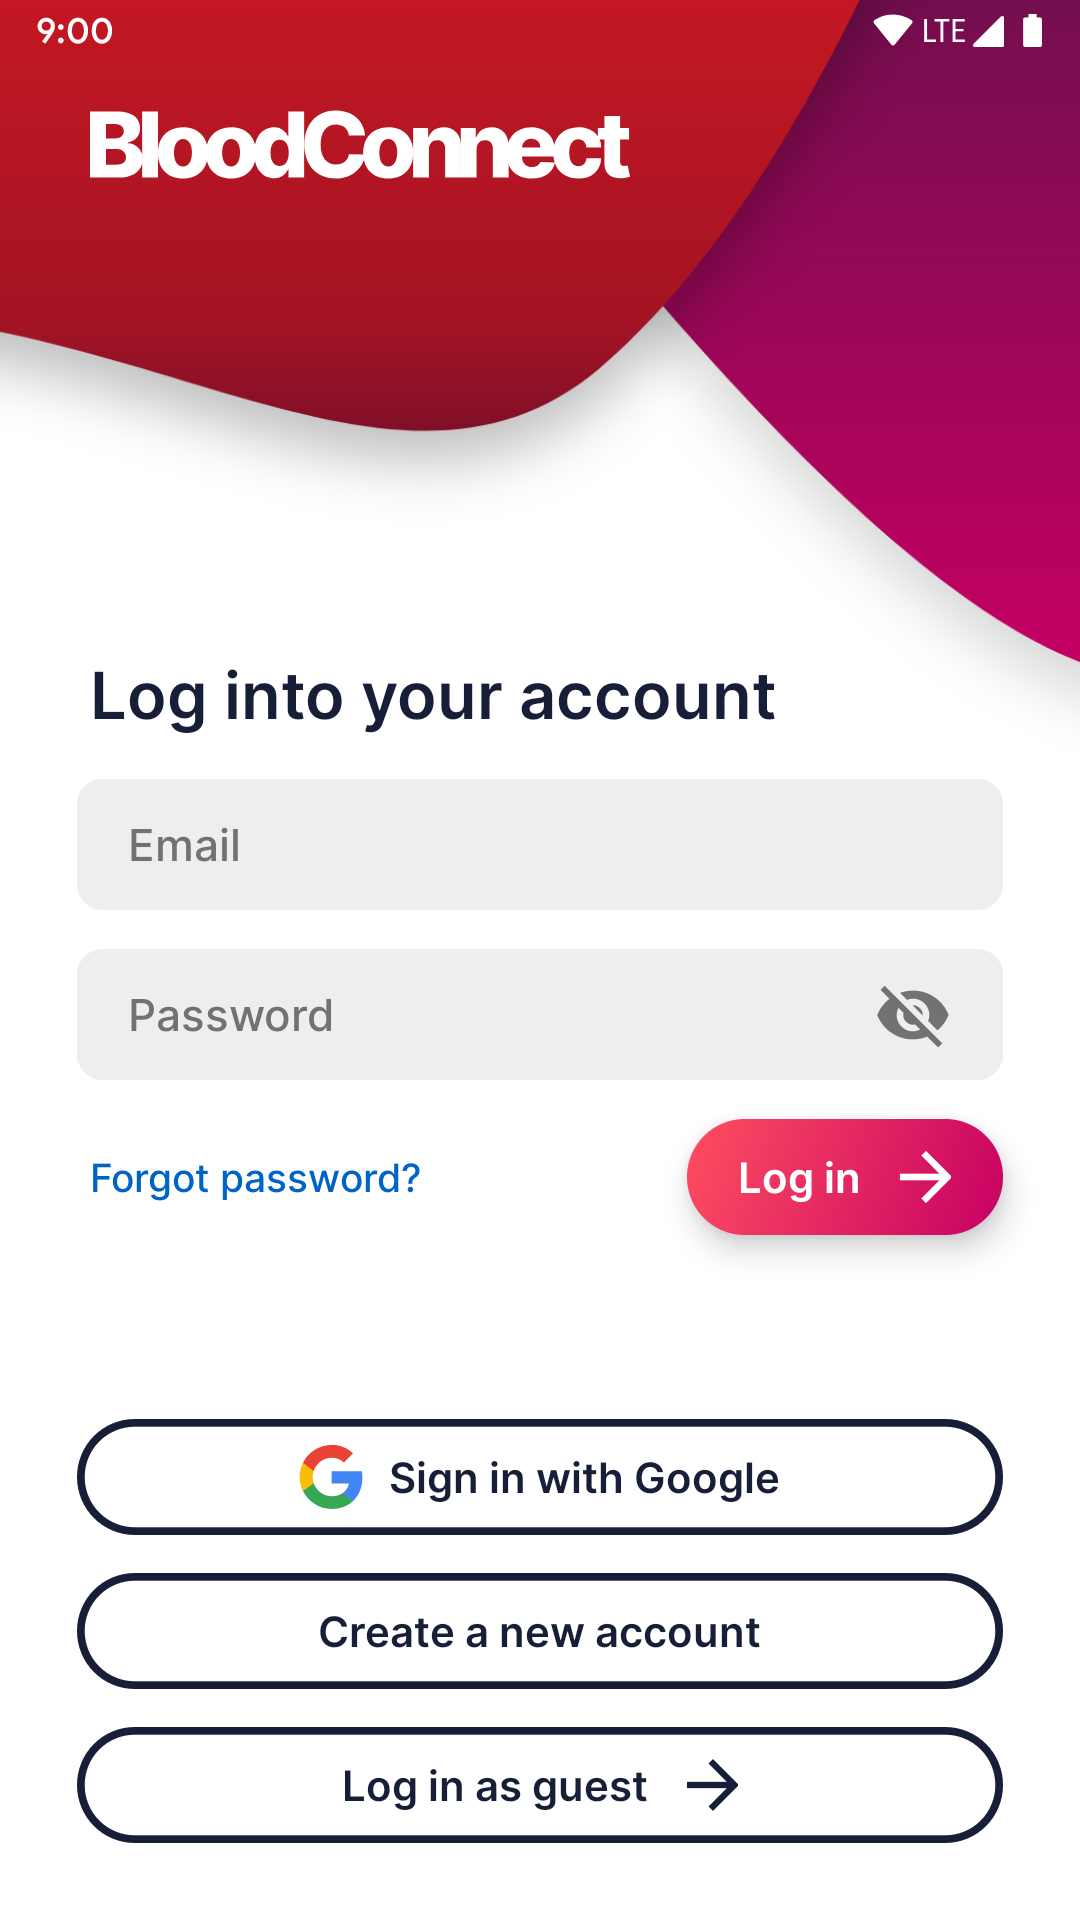
Alternatively, tap on "Log in as guest" to enter BloodConnect without an account. Note that you can only browse and submit donation availability without an account.
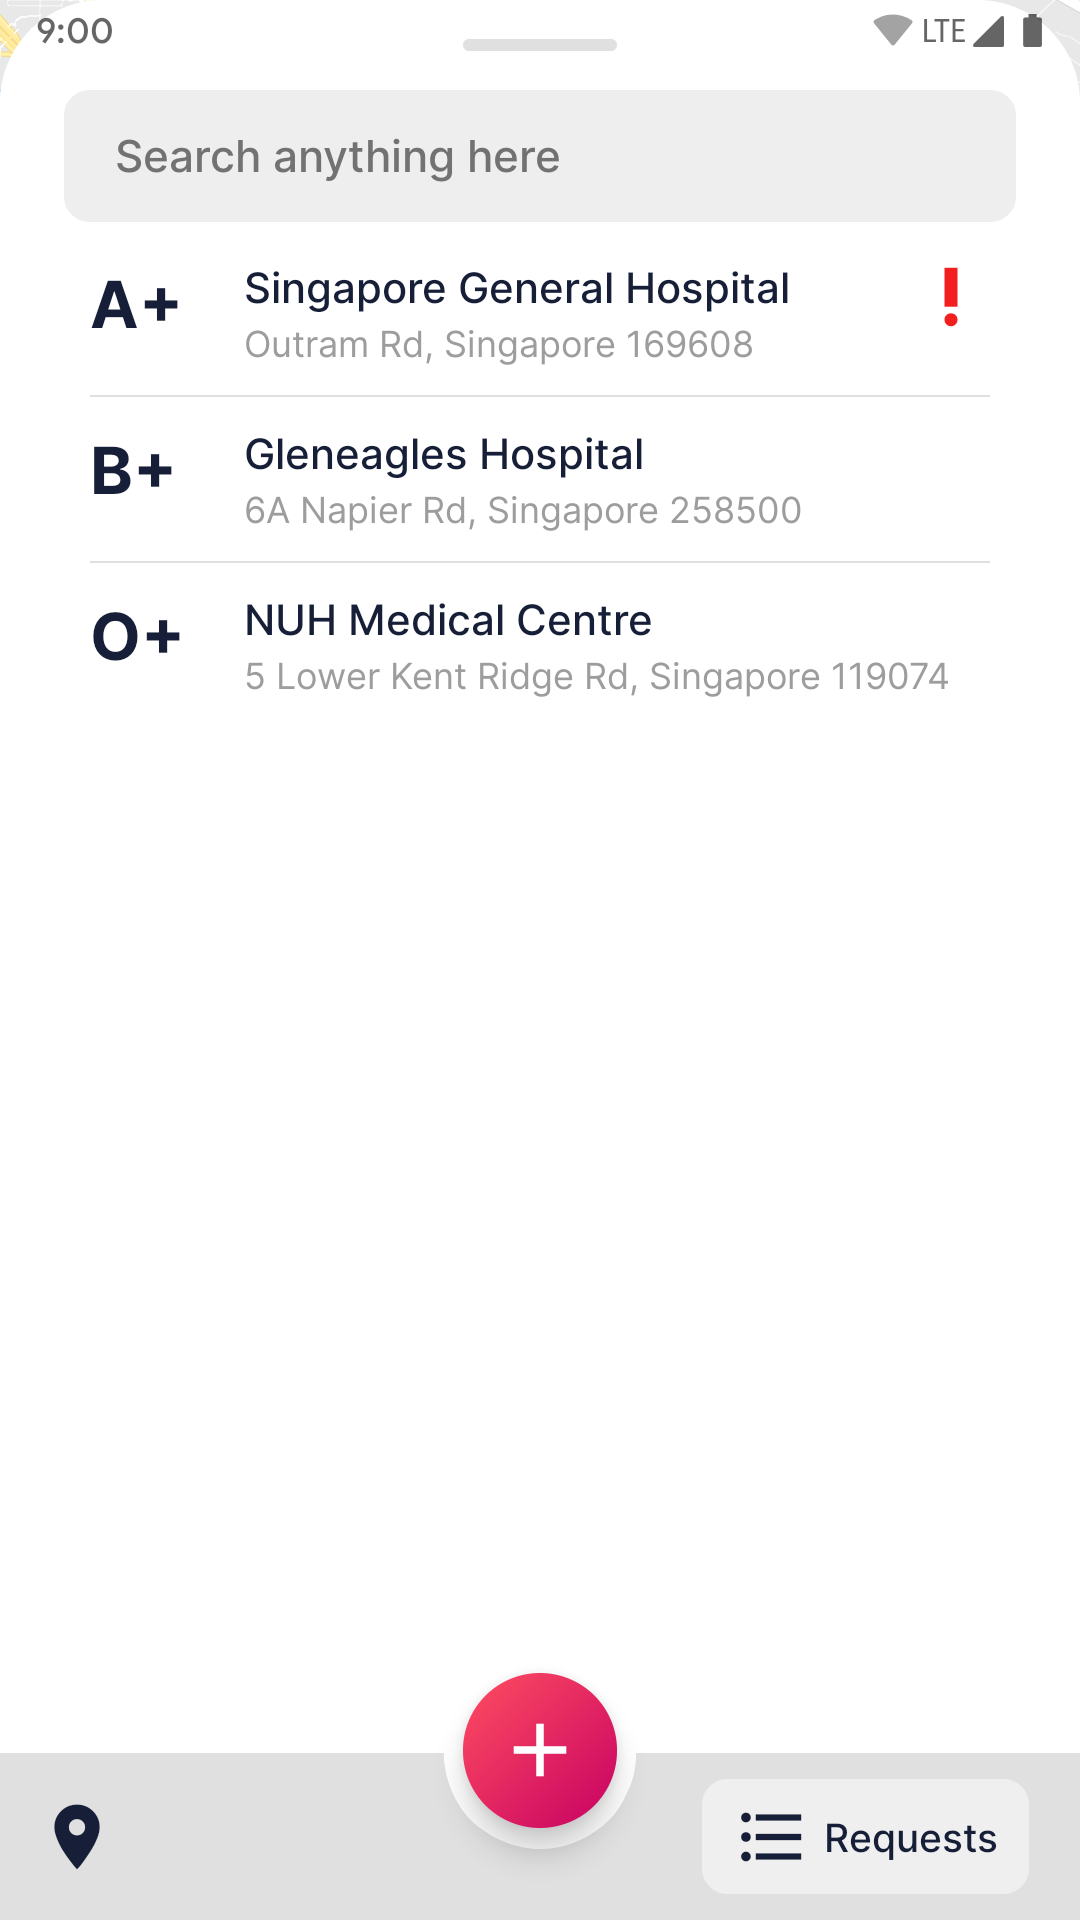
Navigating the Explore screen
The Explore screen is the main "homescreen" of BloodConnect. We call it "Explore" because it is a screen where you can explore requests all over the world and interact freely on the map.

- The top left round button is "my location" button, tapping on which will navigate the map to your location. Note that you will need to allow Location Services access on your device.
- The top right button with your user name will bring you to the user profile page.
- The pink plus + round button in the center of the bottom bar allows you to create a new request.
The bottom sheet is draggable, and expands to the list of open requests on BloodConnect. Tap on the "Search anything here" box to search for requests. Requests denoted with a red exclamation mark indicates an emergency request. Alternatively, you can also tap on the list icon button on the bottom right corner to arrive at the following view. Drag the sheet down or tap on the pin icon button on the bottom left corner to go back to Explore view.
The map view is multi-touch, and supports the same gestures found in your everyday Maps app. Two fingers to zoom, rotate, and change angle, and drag to pan the map. Red pins (as seen above "Queenstown" in the illustration below) indicate open requests made on that location. Tap it to view the request details. Tap anywhere else on the map to dismiss the request details.
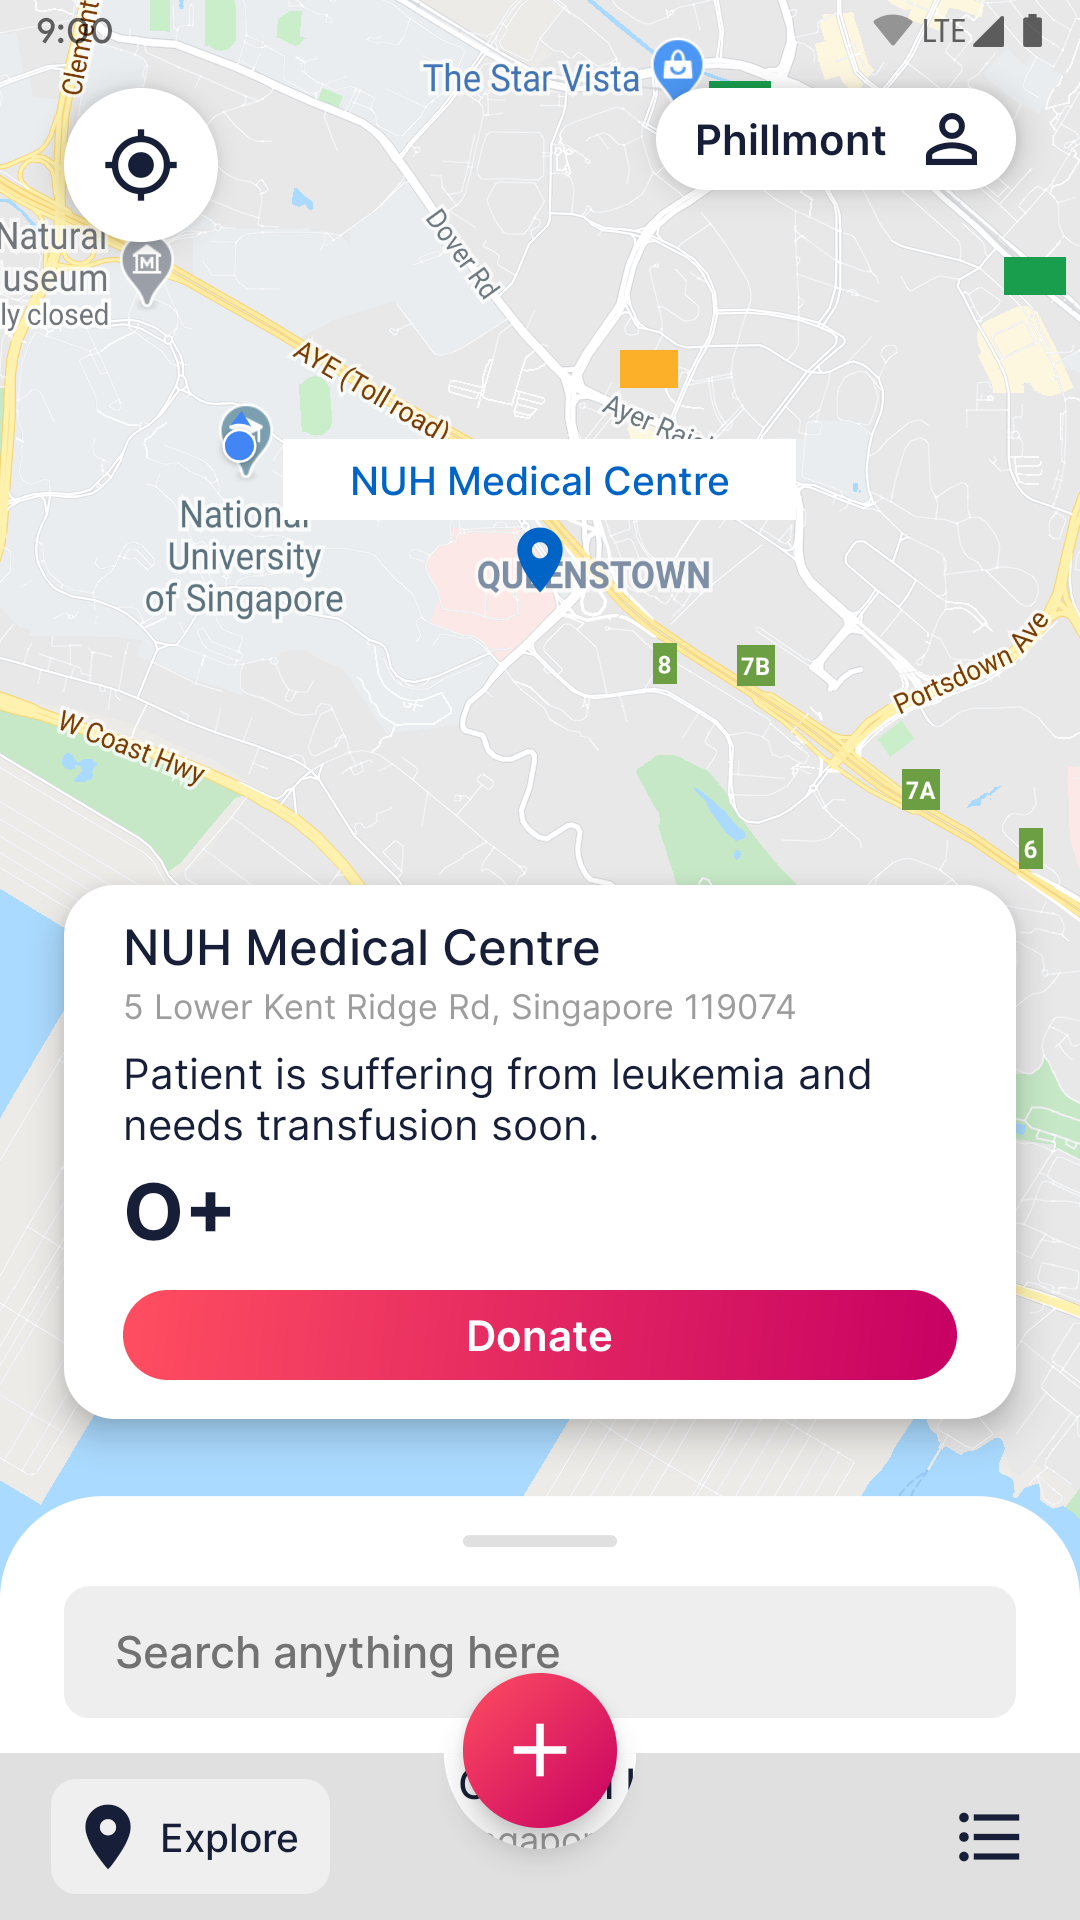
The request details card contains the request location name and address, a brief description of the request (e.g. notes, incident story, etc), blood type, and a button to submit donation availability.
Donating
To start donating, tap on the donate button in the request details card. You will be greeted by the following screen to provide your blood type, name, and contact number.
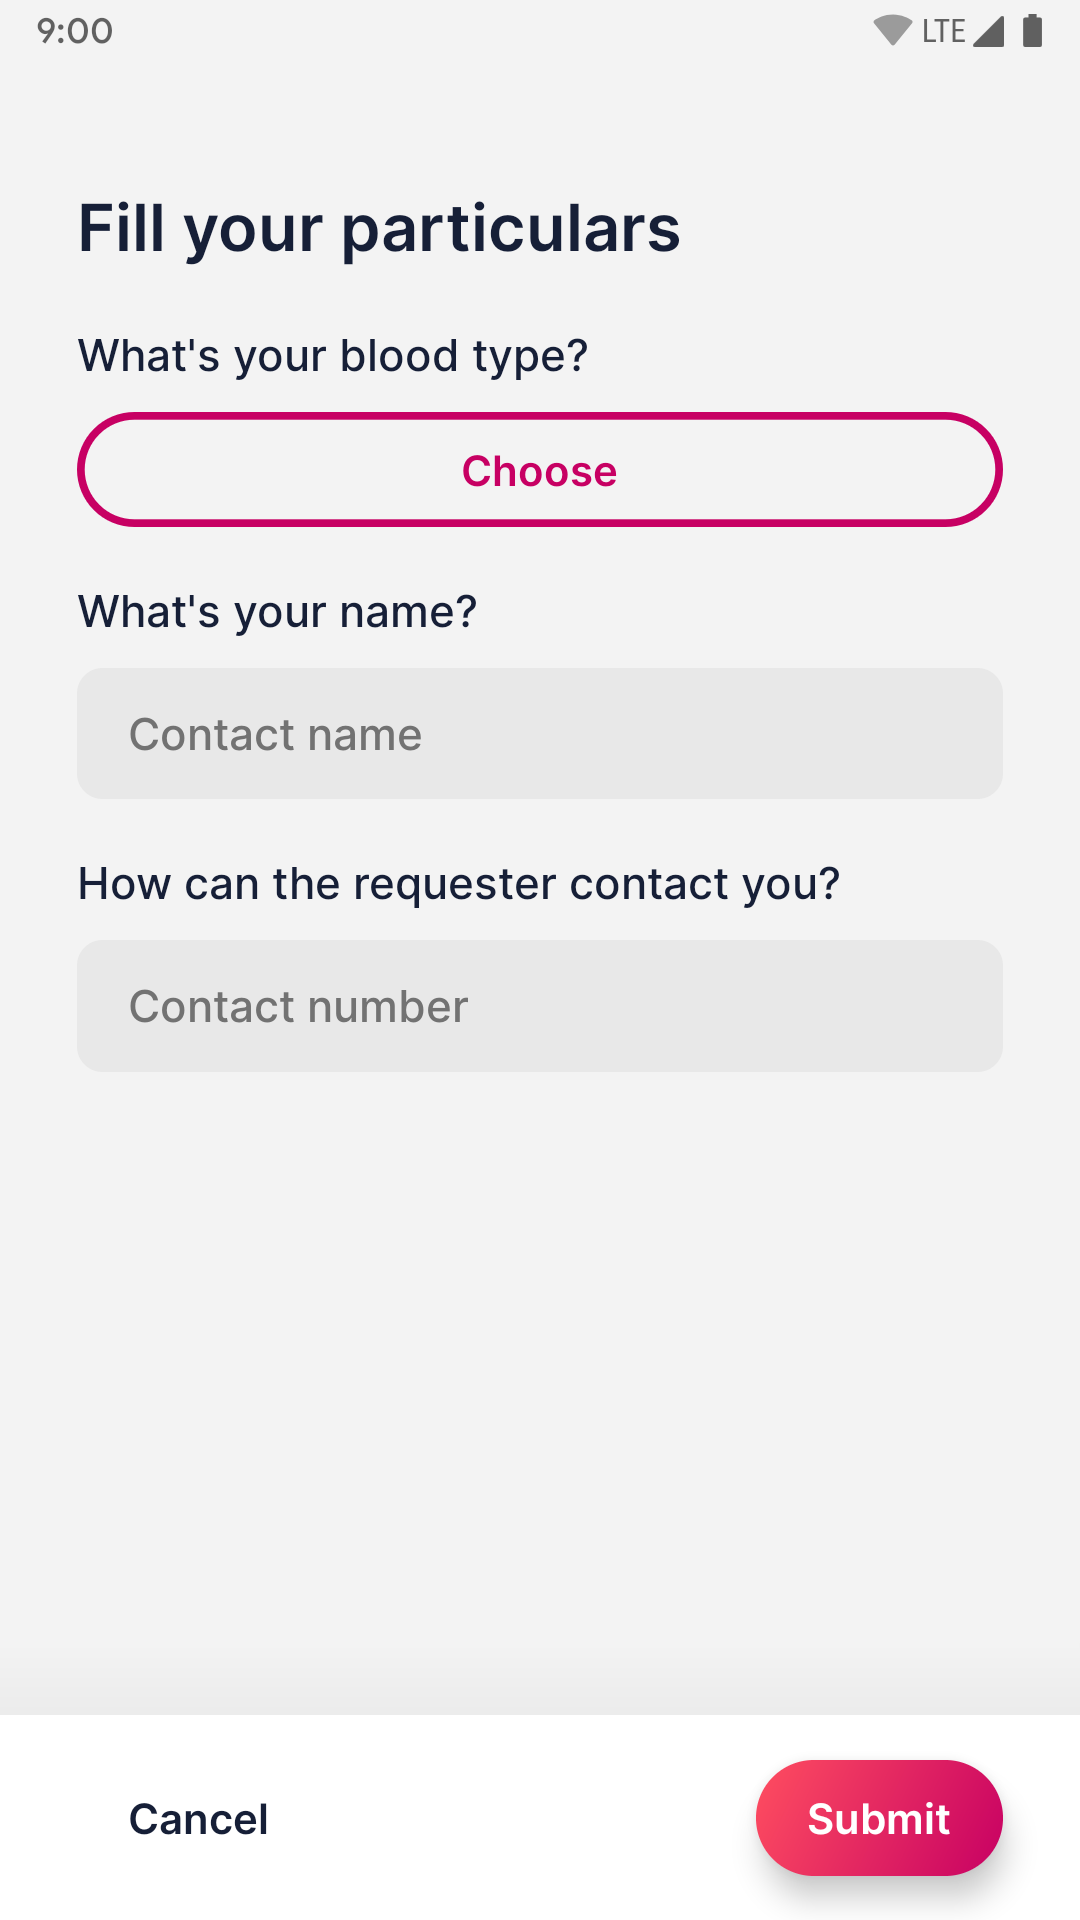
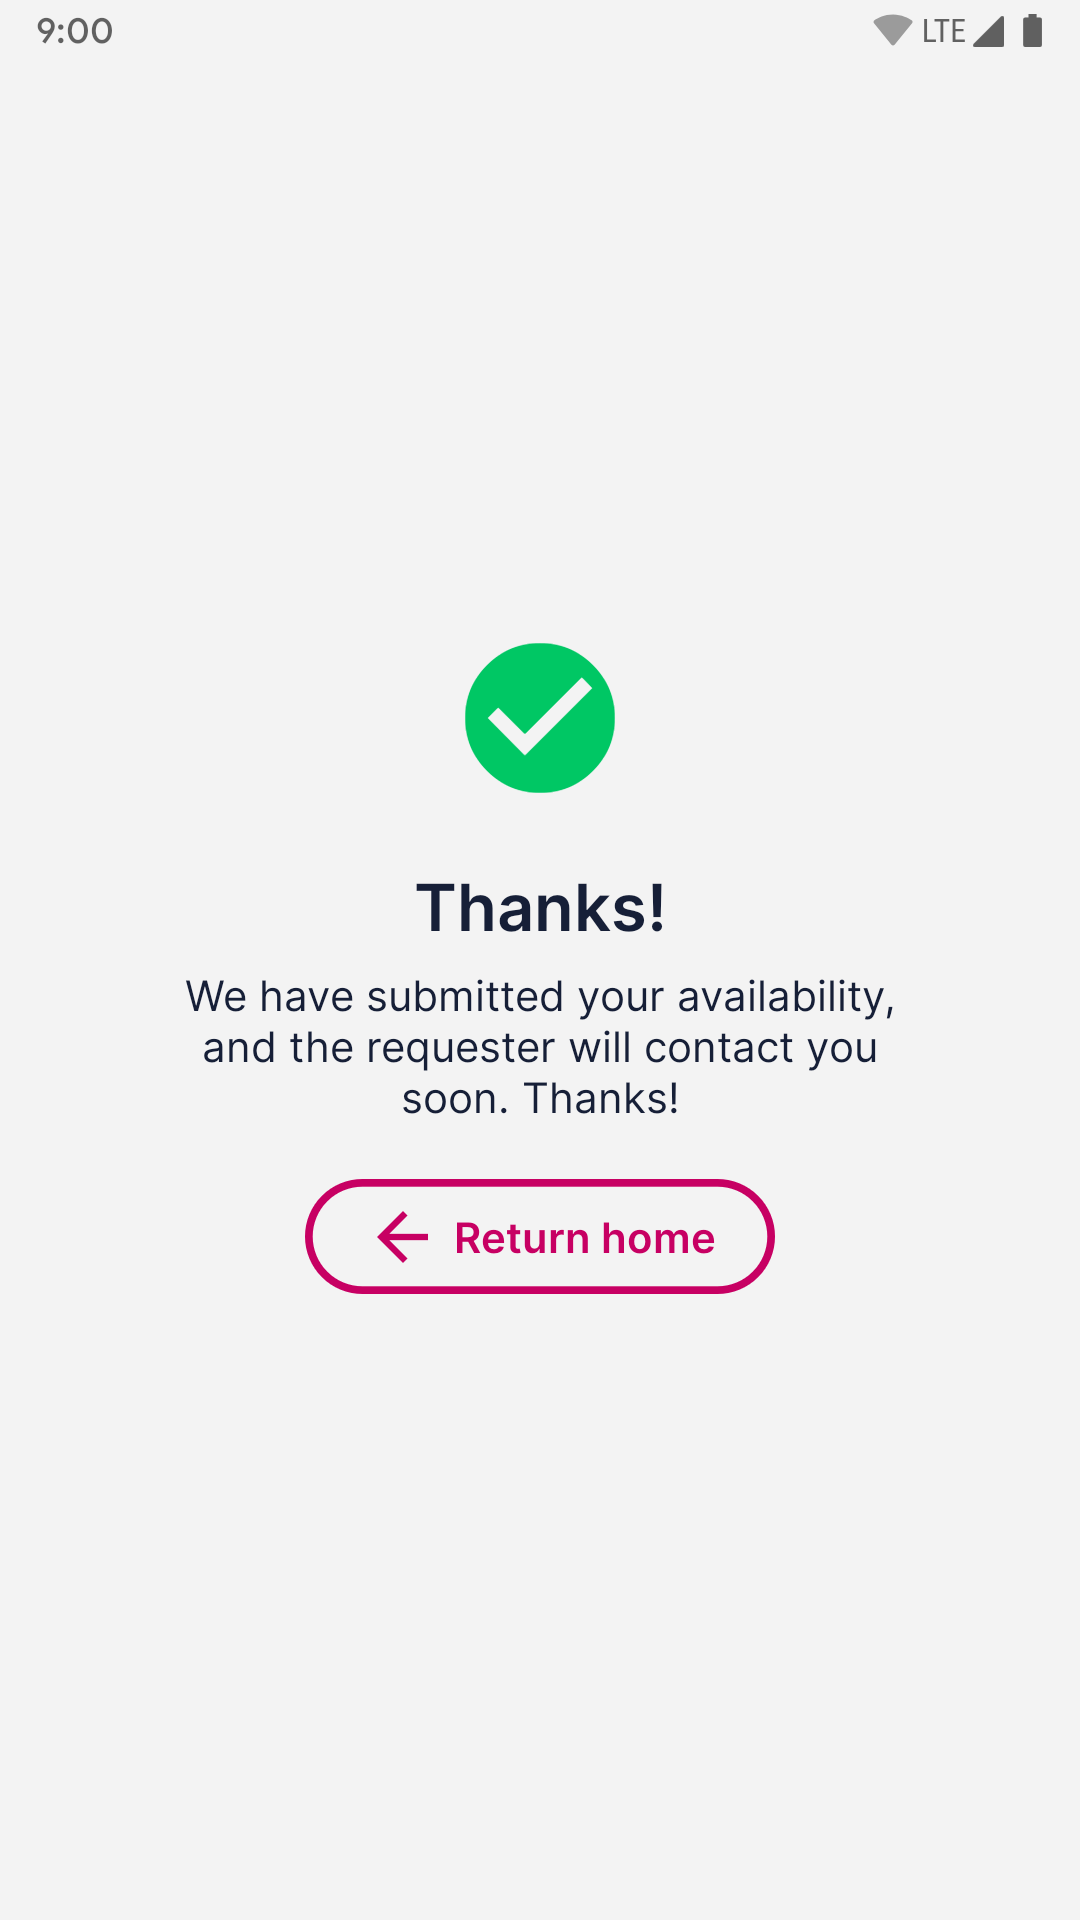
Tap on the "Submit" button to submit your details. Tap "Return home" on the following confirmation screen to return to the Explore screen.
important
This is probably a good time to re-emphasise that BloodConnect only serves as a platform for connecting blood donors and requesters. The requester will be notified of the donor's availability, and will contact the donor to arrange for an appointment.
Requesting for donation
A user can make requests for blood, platelets, or plasma donations. Select one of the types. Then, choose the blood type and the required number of units for your request. Also provide your contact name and number for the potential donors to contact you. You can also provide a description or additional information. If you need fast response, check the "This is an emergency" box.
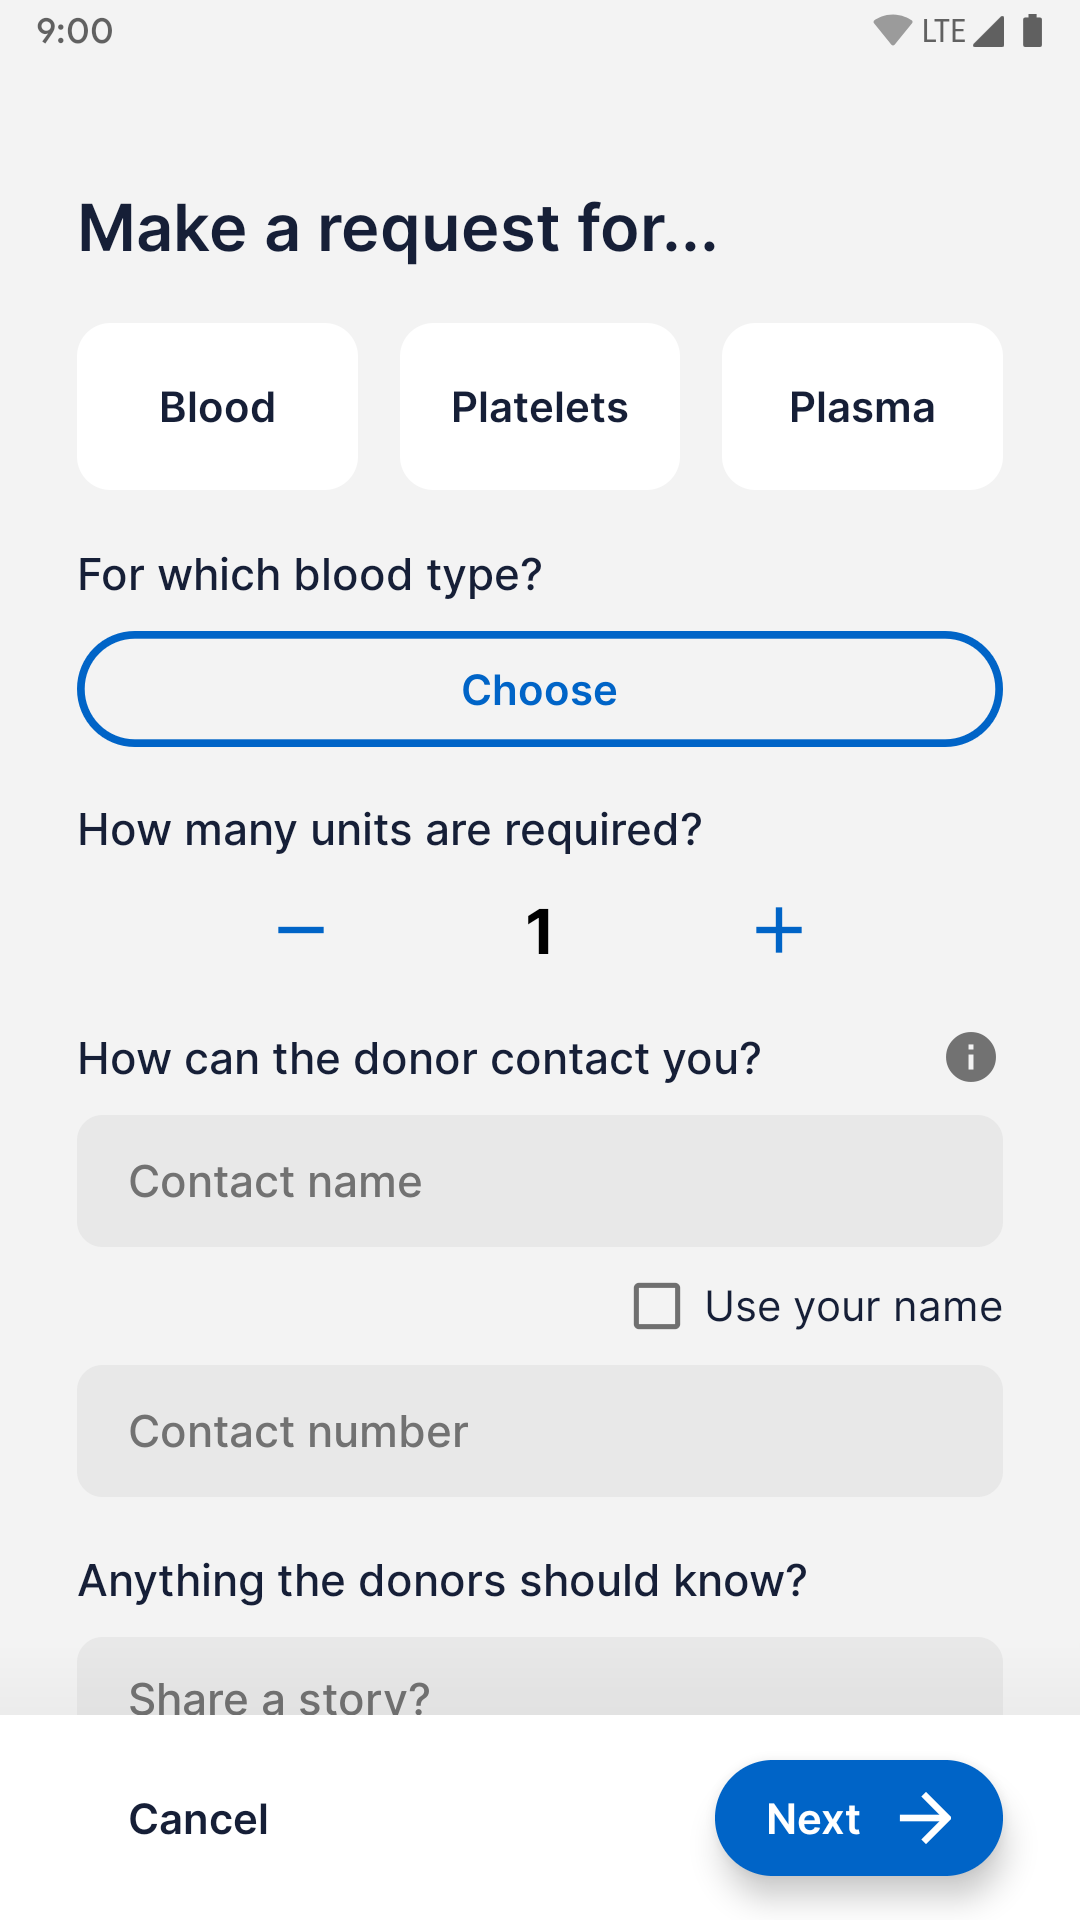
important
By tapping on "This is an emegency box", BloodConnect will prioritise the request to help find donors faster. Please be responsible and only tick if you really need donation urgently.
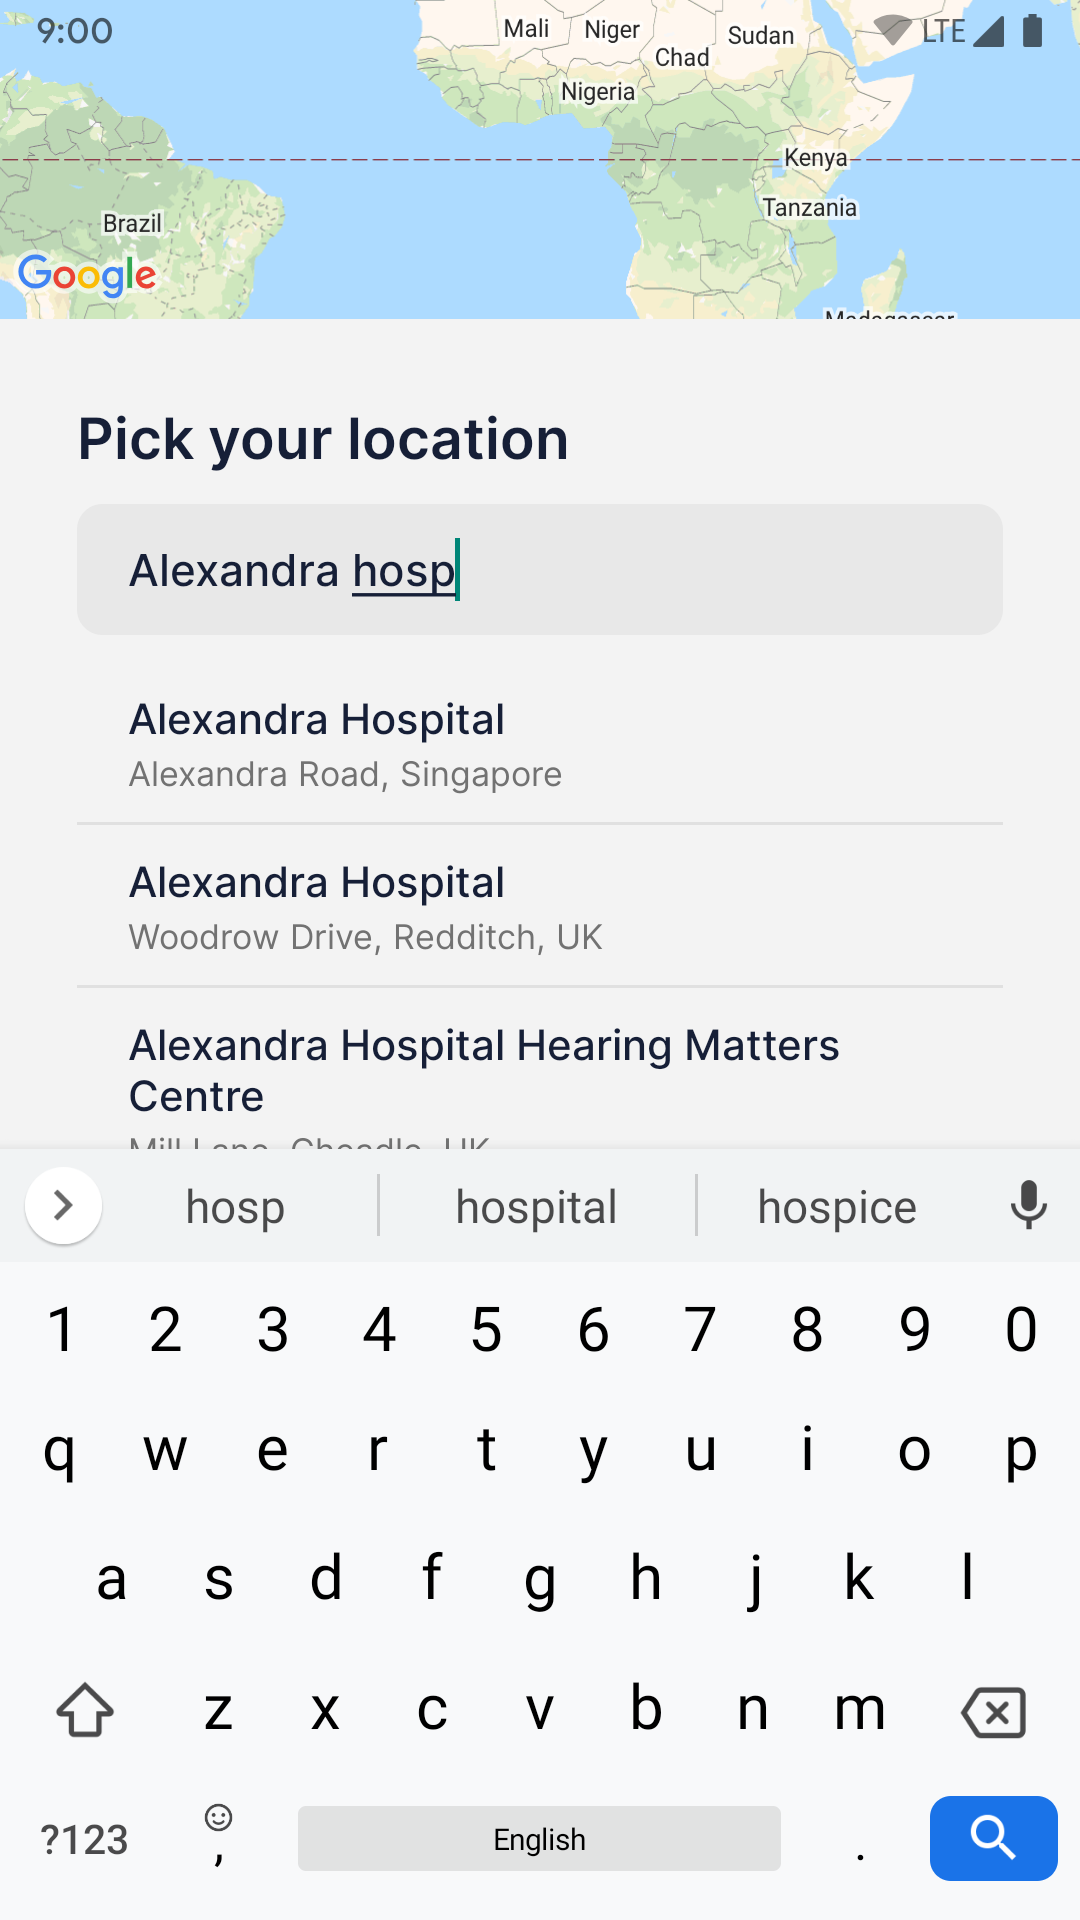
Tap on "Next" to continue to the next step, selecting a location. Tap on the search bar and start typing for location names. Once your location appears on the list, tap on it to confirm.
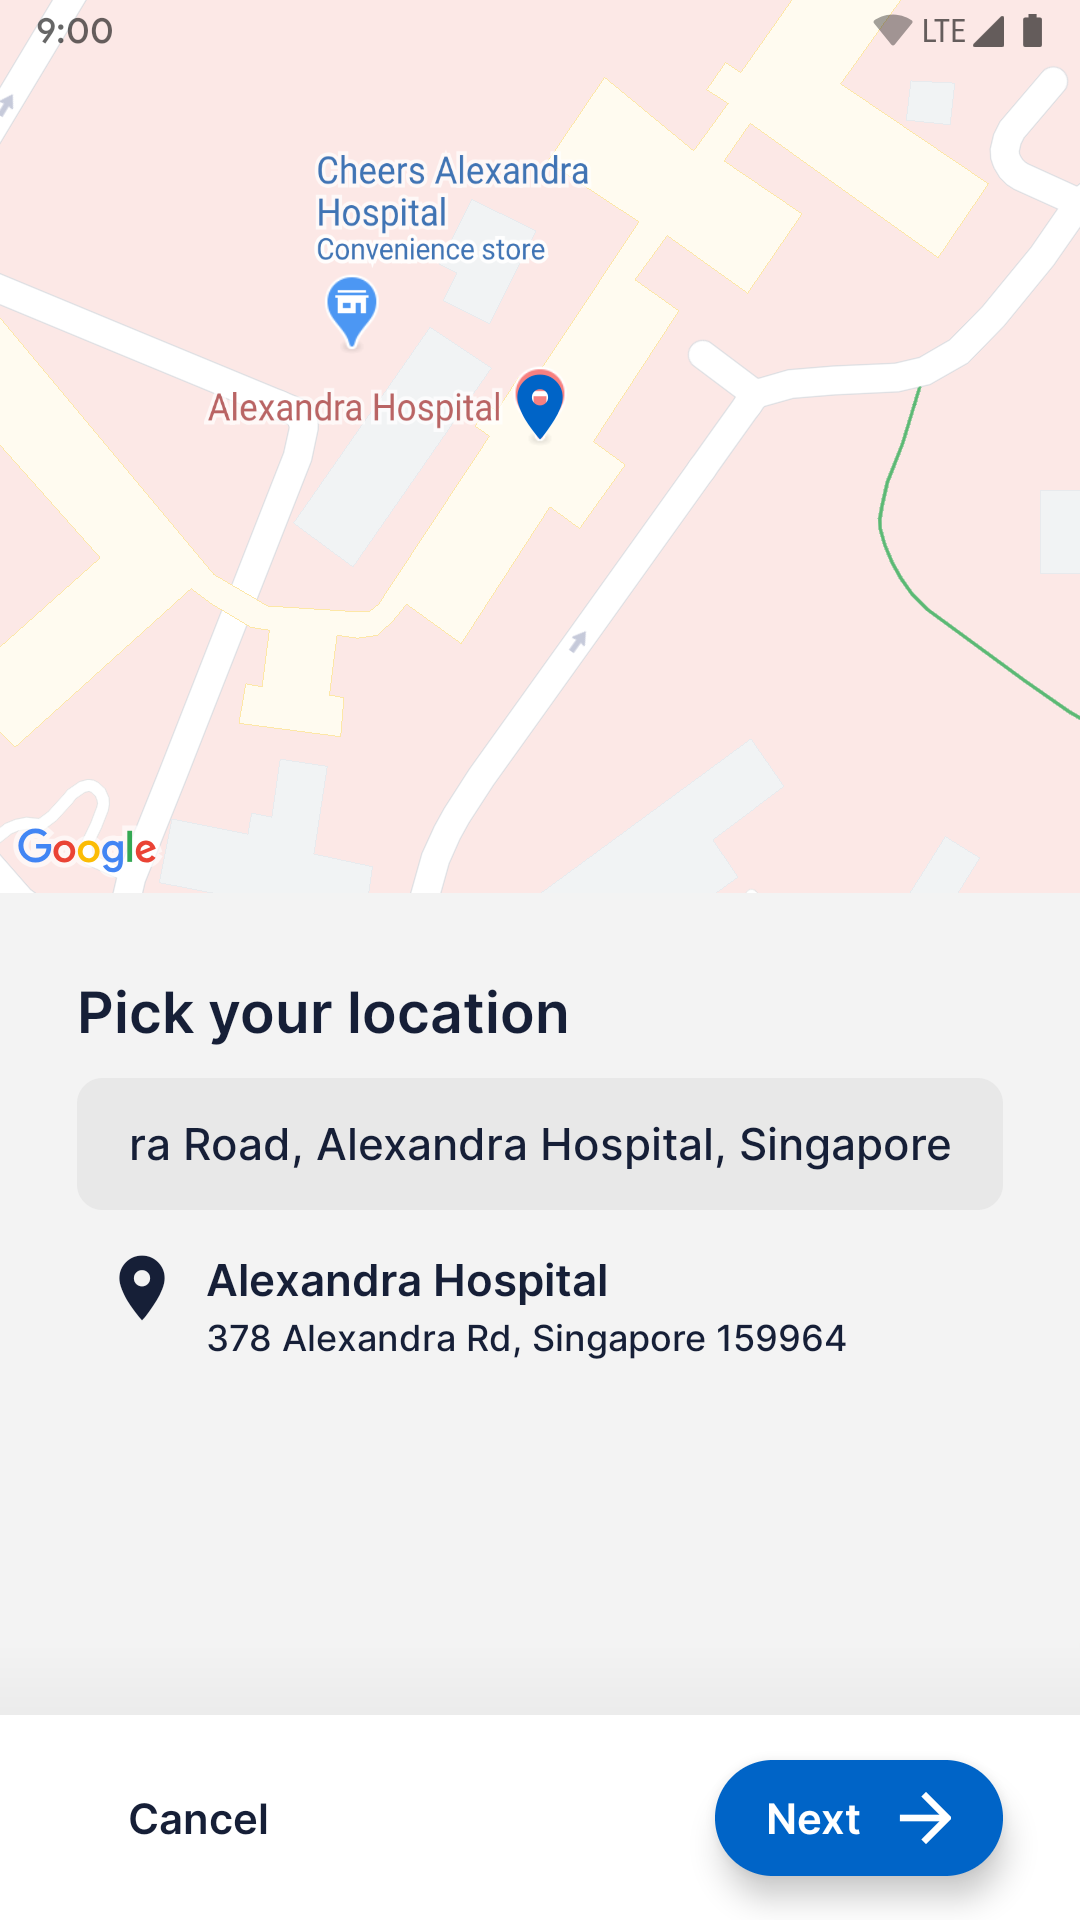
Once the location on the map is correct, tap on "Next" to navigate to the final step, reviewing your request.
This is the last step of making a new request. Confirm your information on this page, and if there are any changes you need to make, tap on the respective blue pencil icons and you will be redirected to amend the fields.

Tap on "Submit" to submit your request.
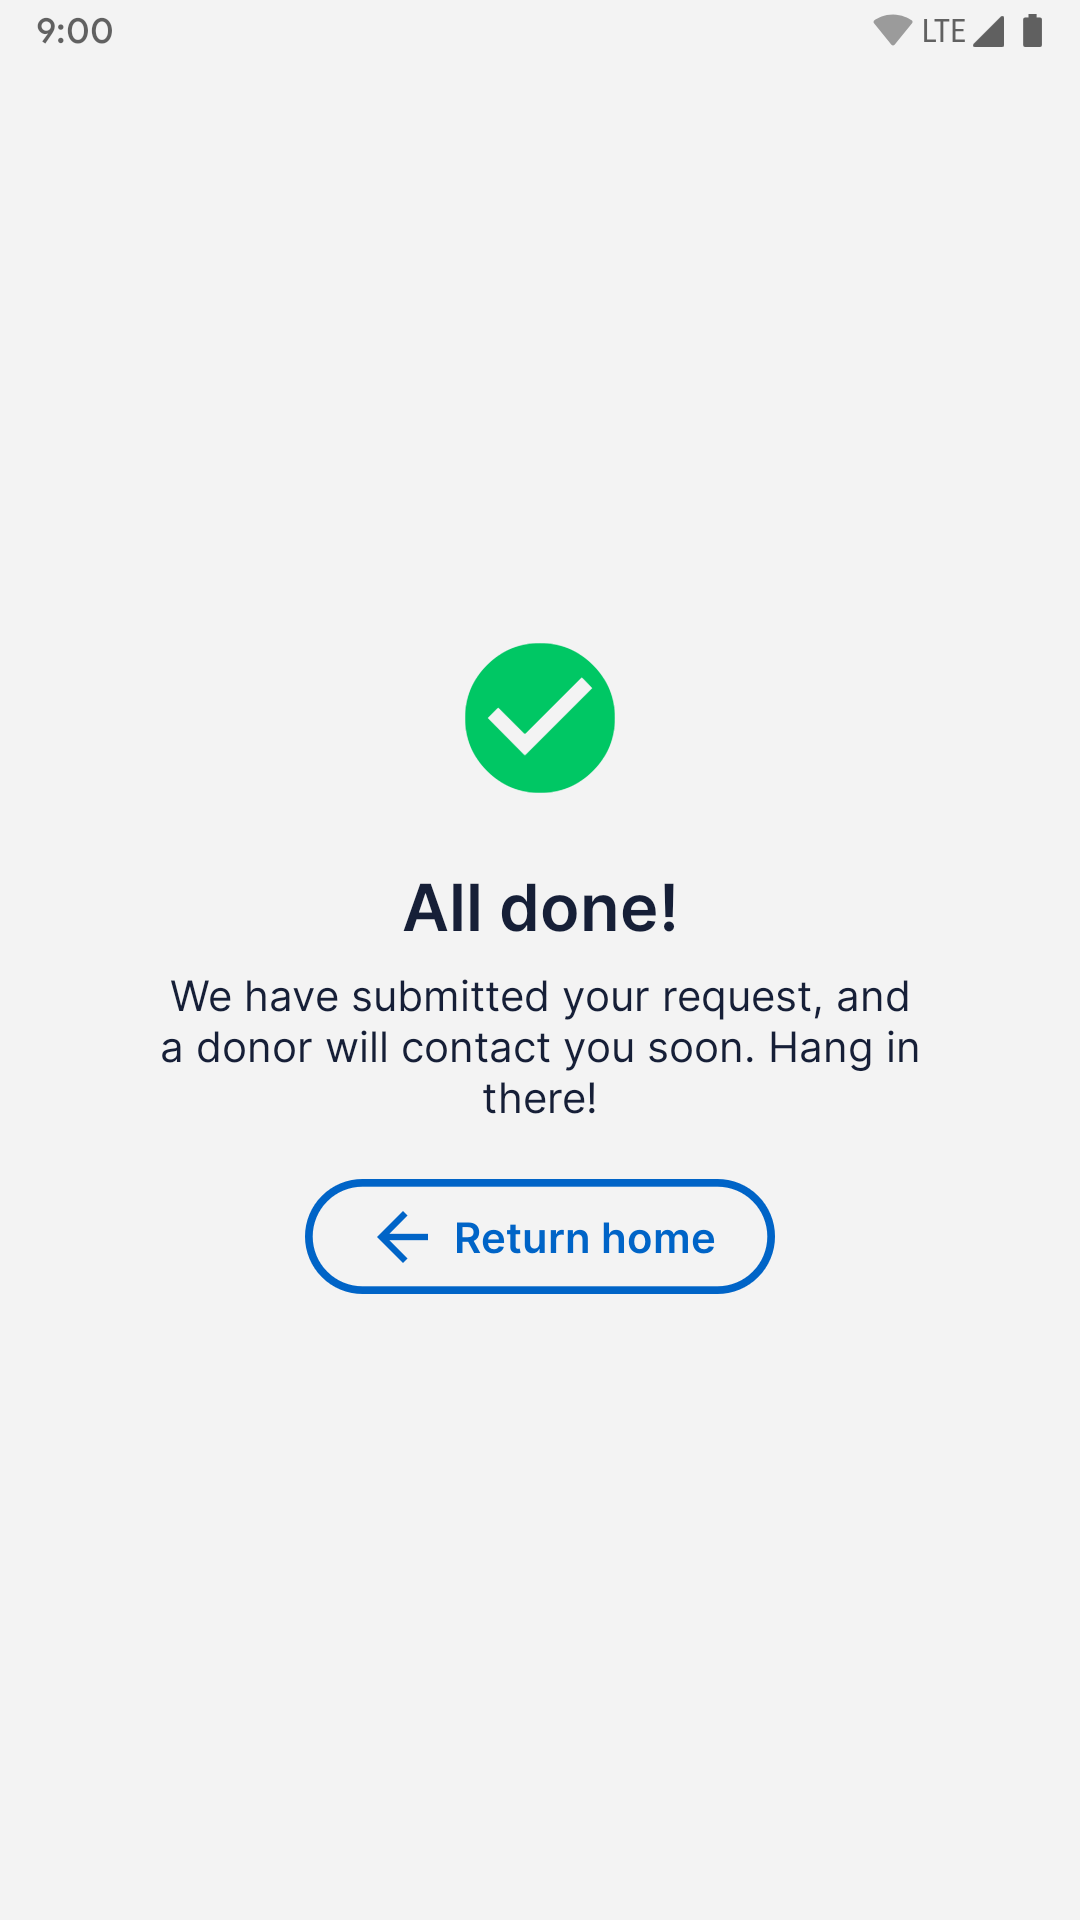
Tap "Return home" to return to the Explore screen.
Viewing your user profile
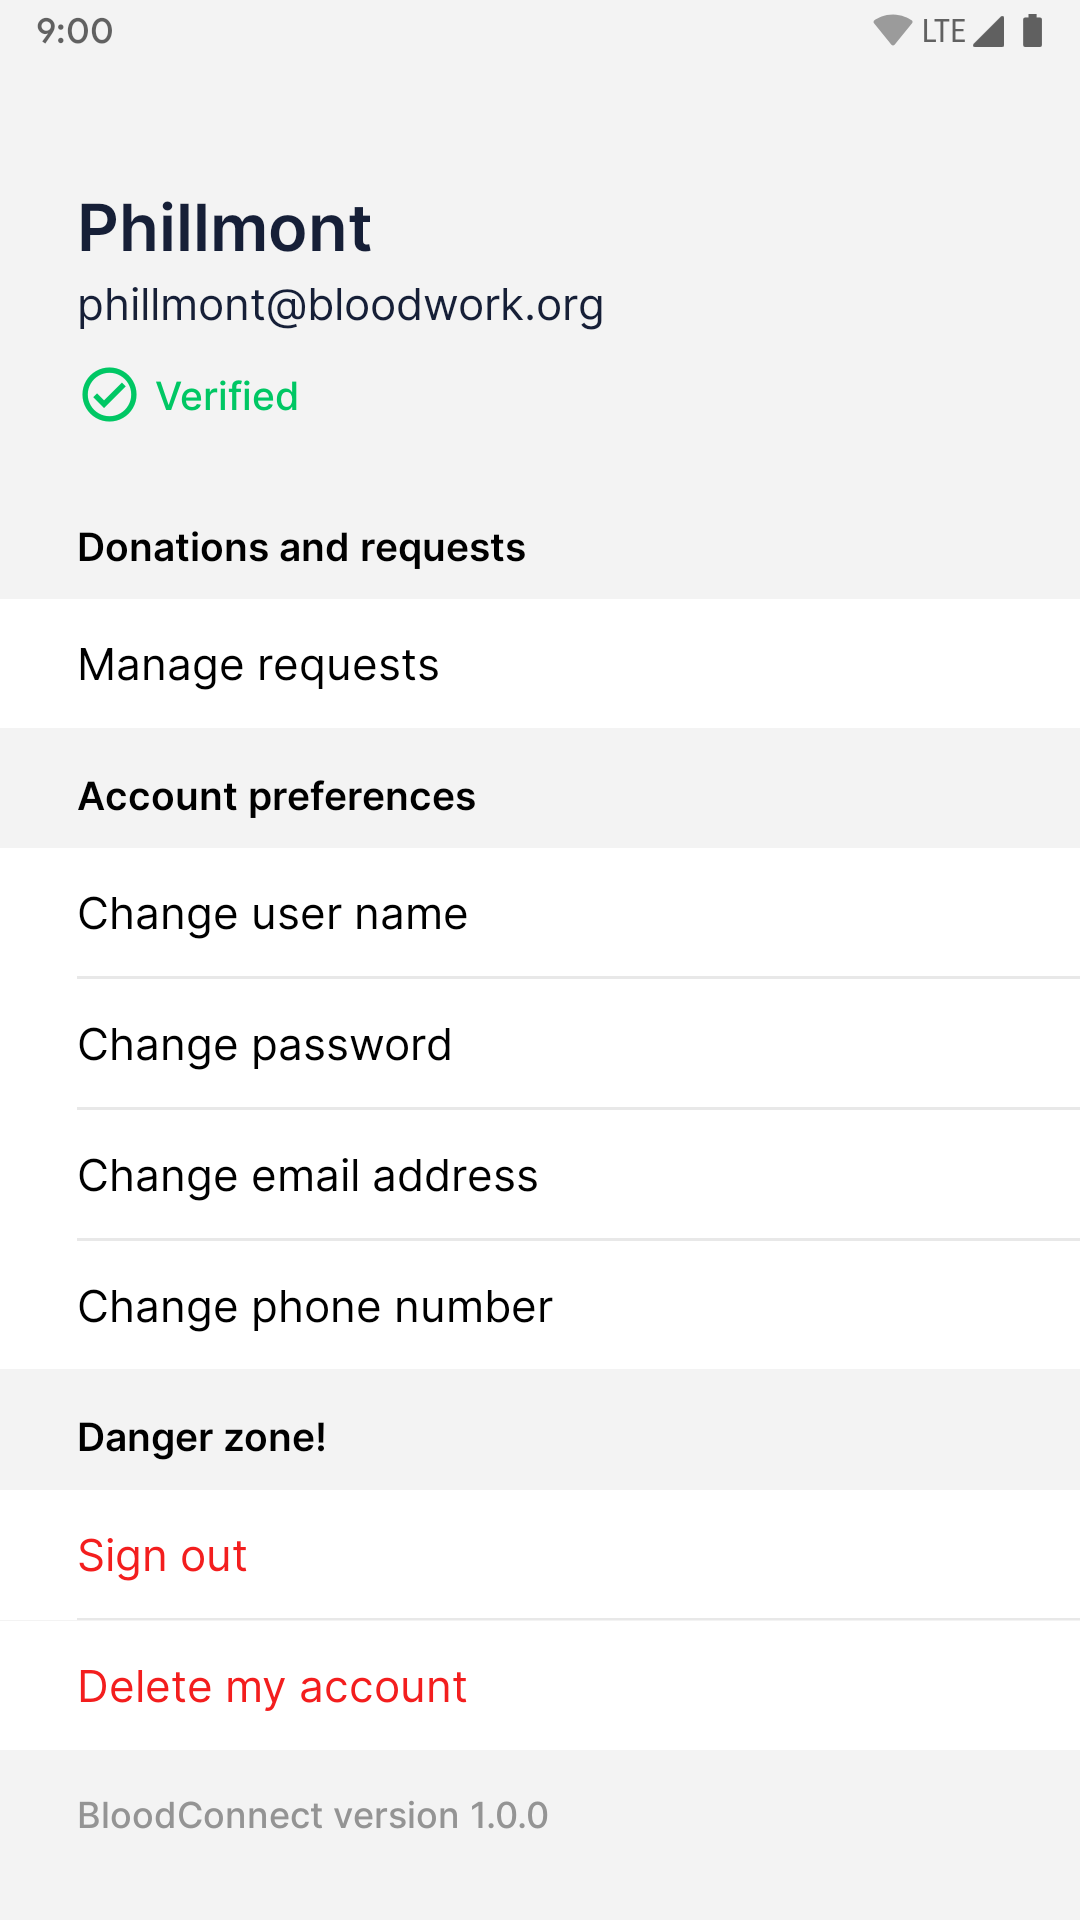
The user profile page contains your user information (e.g. name, email address, verification status), controls to manage your requests, view donation history (coming soon!), change your user information, signing out from, and deleting your account. It will also contain the application settings, pertaining to notifications, location services, and history management.
Managing requests
From the user profile page, tap on the "Manage requests" option and you will be navigated to the following screen. Here, you can view your active (open) requests and past (completed or cancelled) requests.
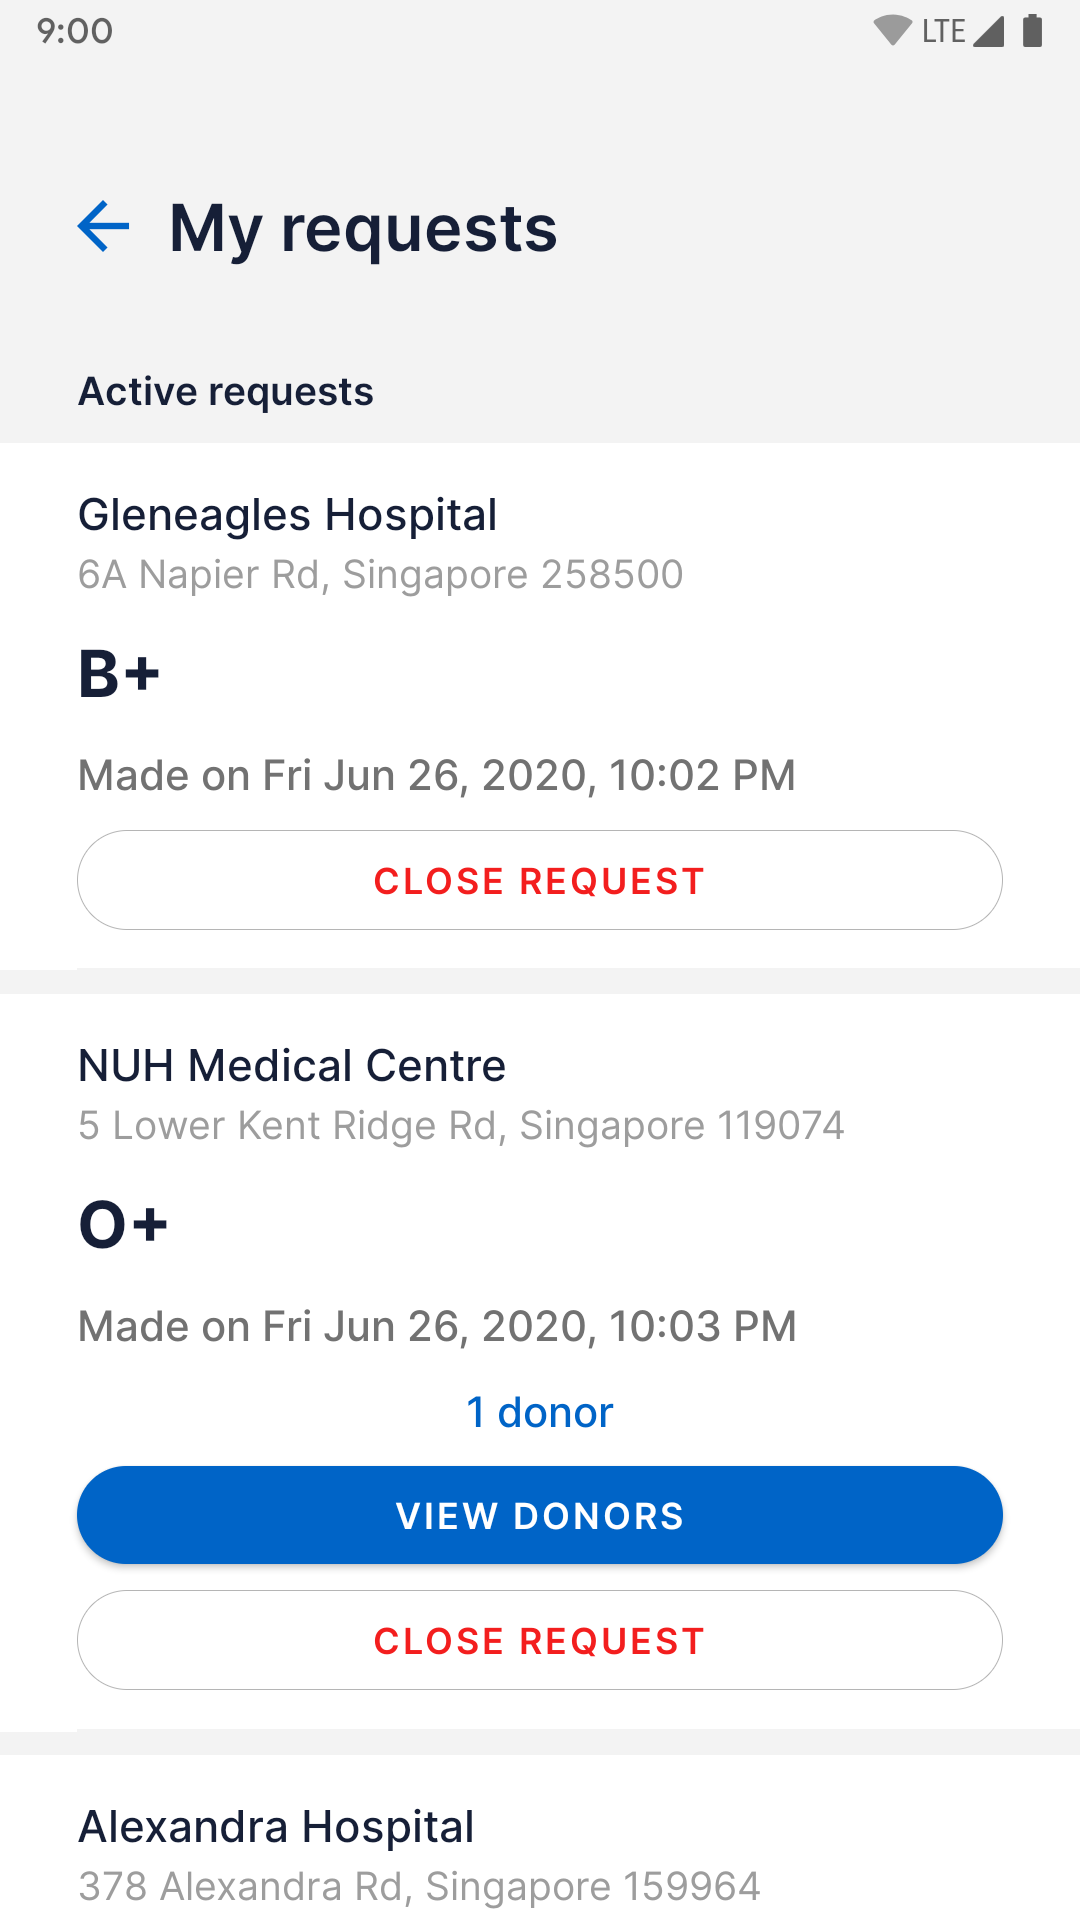
If there are available donors, you will see a blue text indicating the number of donors and a blue button to view the list of available donors. Tap on "View donors" to view the donors.
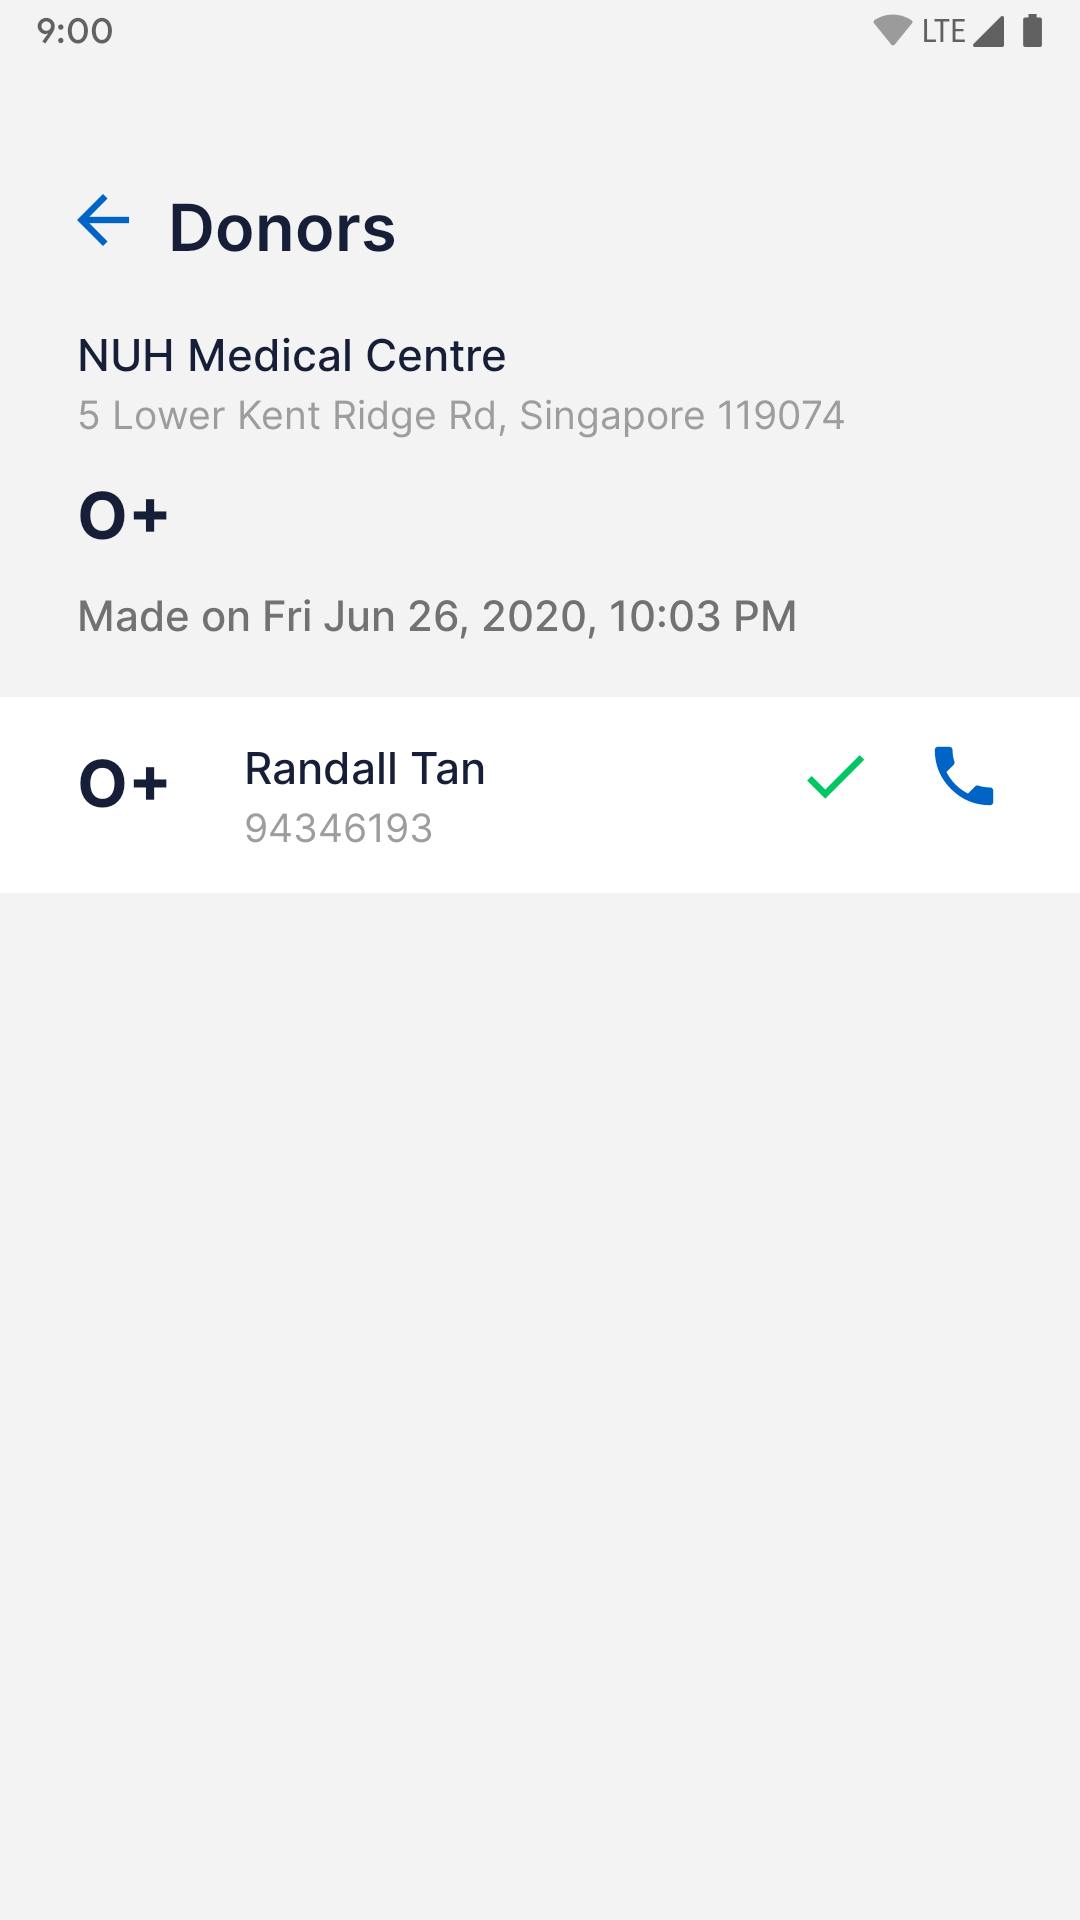
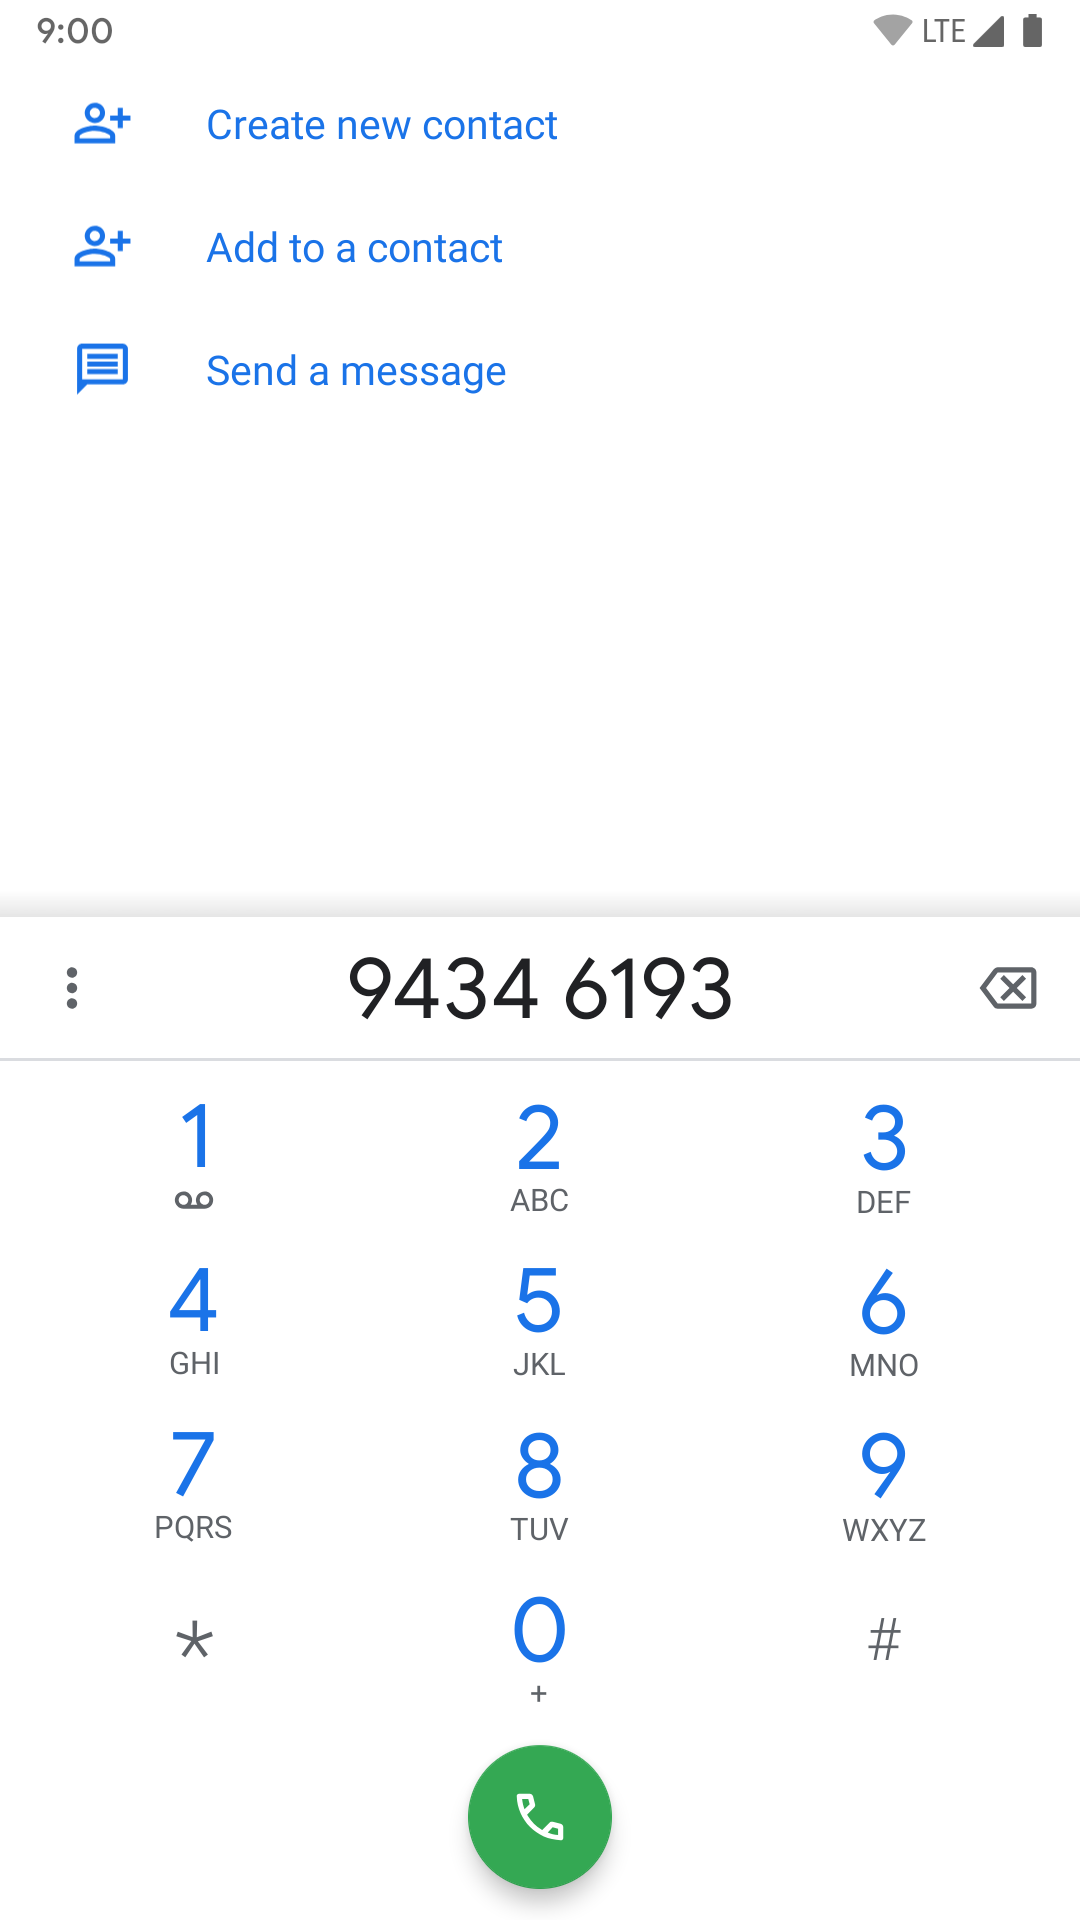
There are two buttons associated to each donor. The blue phone button will redirect you to your phone's dialer (such as the following screenshot) from which you can contact the donor and arrange an appointment. The green check button will complete the request with the chosen donor.
Once you mark a request as completed, the request will no longer be searchable by other users. The donor's name and contact number will be saved for your reference.

Alternatively, you can also close a request (i.e. cancel a request) by tapping on "Close request". Your request will no longer be searchable then.

Finally, you can tap "Delete request" on completed requests to completely remove the request history from your account. We will also purge the donor's and your request's information from our database. Note that this action is irreversible.